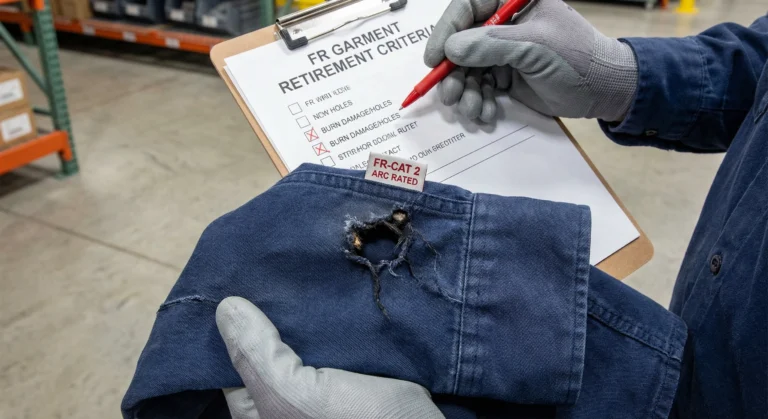
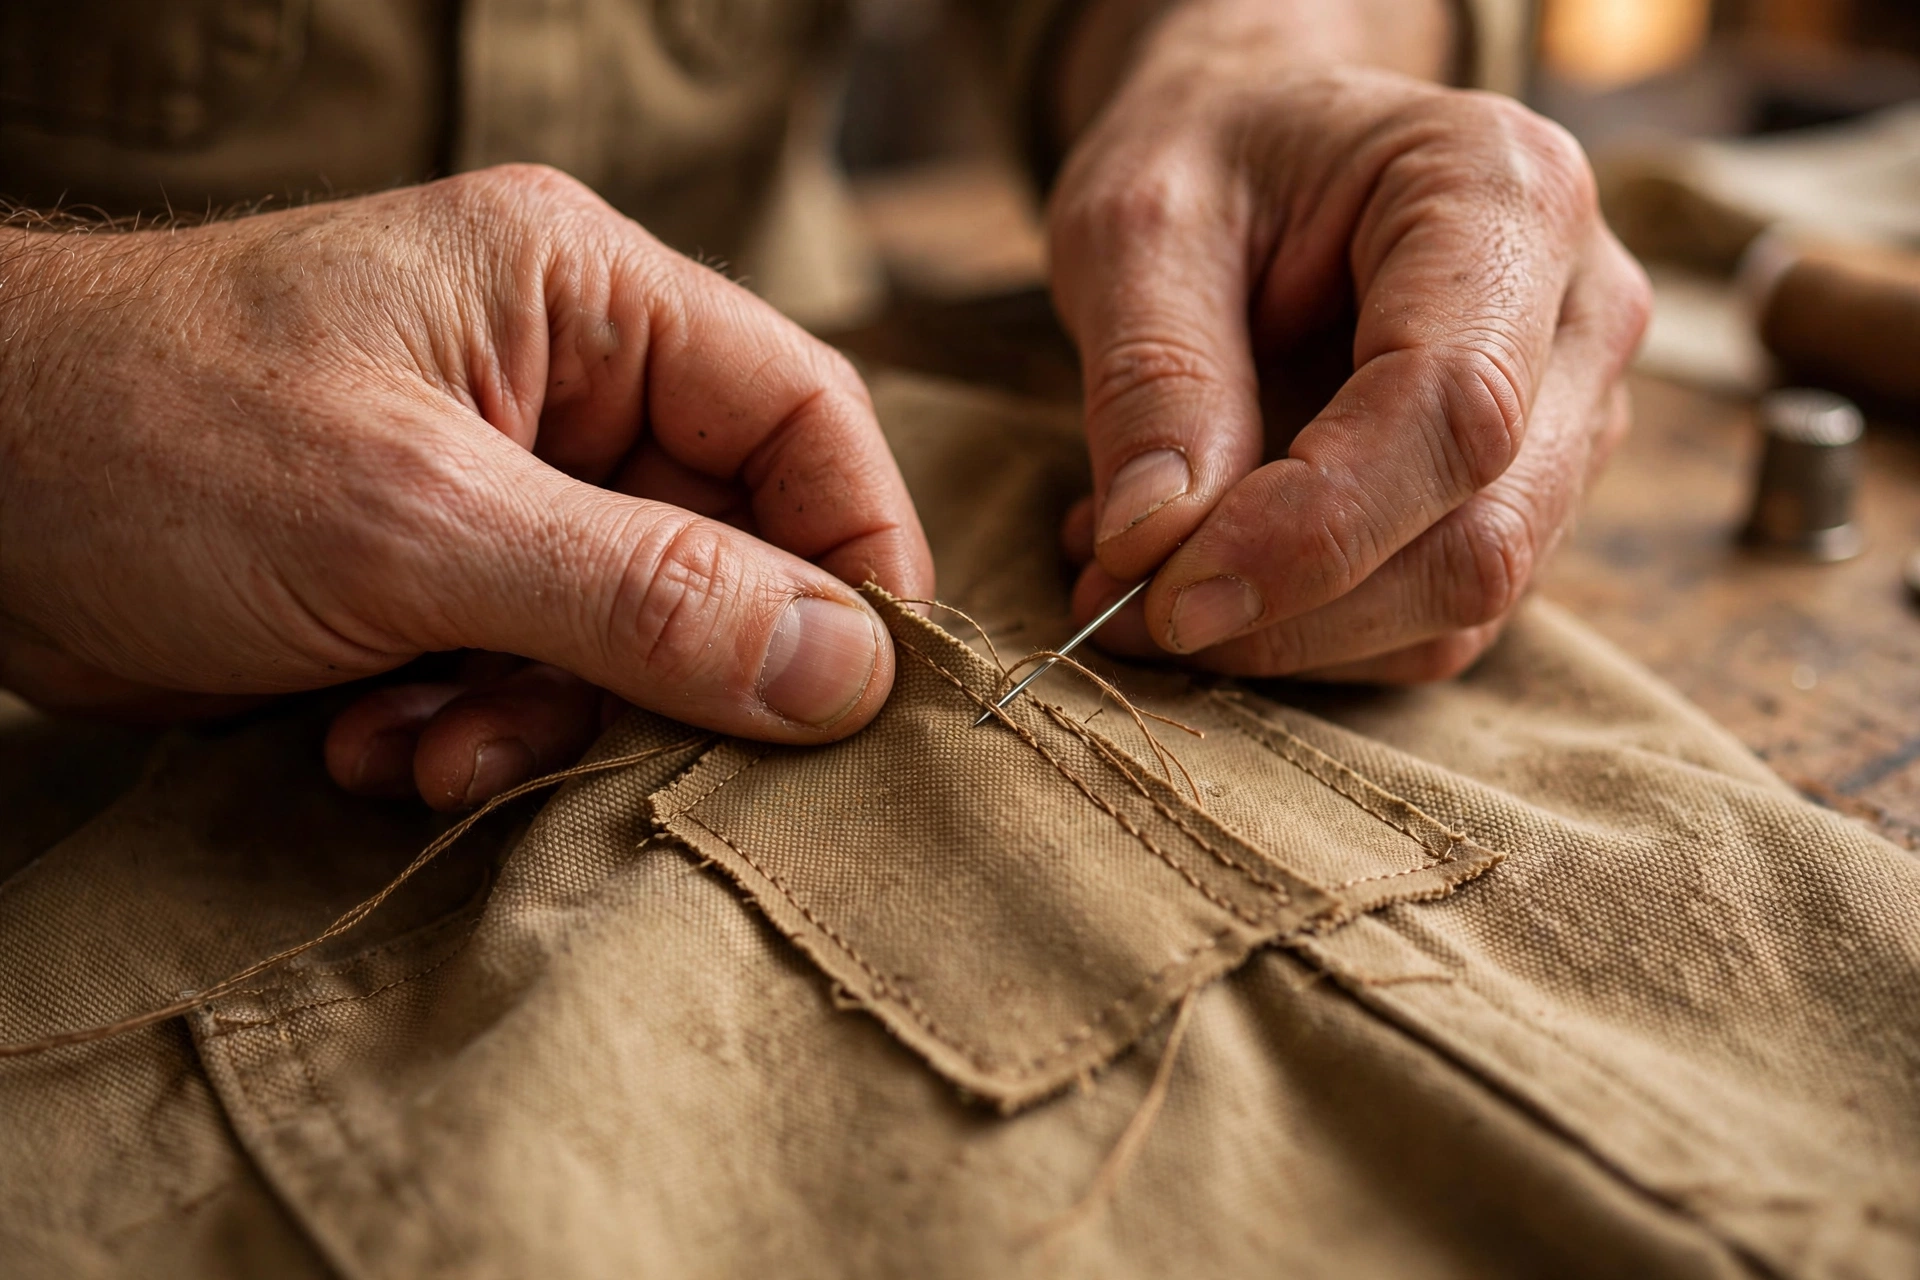
Can You Patch or Repair FR Clothing? The Rules
FR workwear is expensive and takes abuse — snags, small tears, worn cuffs. Throwing out a garment over a two-inch tear feels wasteful, and sometimes it is. Repairs are allowed, but they’re governed by strict rules: a repair done wrong creates a weak point that can fail exactly when protection matters. Here’s what’s permitted and what isn’t.
Yes, you can patch or repair FR clothing, but only small, sewn repairs using FR-rated fabric and thread, following the manufacturer’s guidance. Iron-on patches, glue, tape, and non-FR materials are not safe repairs, and large damage, damaged closures, or a failed inspection mean the garment should be retired instead.
What Repairs Are Allowed
Small, honest repairs are fine when done with the right materials:
- Small holes and tears can be mended — think minor snags and seam splits, not shredded panels.
- FR-rated thread only — regular polyester or cotton thread melts or burns, creating a failure line through your repair.
- FR-rated patch fabric, ideally matching the garment’s own FR fabric type and weight — a non-FR patch is just a flammable applique.
- Sewn, not glued — adhesives can be flammable, stiffen fabric, and don’t hold up to rated heat.
- Keep it neat and flat — bulky repairs create pressure points and can catch on equipment.
The principle: the repaired area must protect at least as well as the rest of the garment.
Repairs That Are Never Okay
Some “fixes” are disqualifying — they end the garment’s service life rather than extending it:
- Iron-on patches — the adhesive melts under heat and the fabrics usually aren’t FR. The most common bad repair.
- Non-FR thread or fabric. Any meltable or flammable material in the repair is a built-in failure point.
- Tape of any kind — none of it is FR-rated, and adhesives are typically flammable.
- Large-area repairs — rebuilding a whole panel isn’t a repair; certified performance can’t be assumed across that much replaced material.
- Repairs over closures and critical areas — damaged zippers, snaps, and cuffs usually can’t be restored to reliable function.
- Patching over damaged FR treatment. If the fabric around the tear is scorched, chemically damaged, or worn thin, covering it with a patch hides the problem without fixing it.
The Patch Rules in Practice
| Rule | Why it matters |
|---|---|
| Patch fabric must be FR-rated, matching type/weight where possible | Non-FR patches burn; mismatched weight changes heat performance |
| Thread must be FR-rated | Regular thread melts and opens the repair under heat |
| Stitch, don’t glue or iron on | Adhesives fail under heat and may be flammable |
| Keep patches small and few | Large or numerous patches = the garment is worn out, not repairable |
| Follow the manufacturer’s repair guidance | Their limits are the authority |
| Inspect after repair | The repaired garment must pass the same inspection as any other |
How small is “small”? There’s no universal number — some manufacturers specify maximum patch sizes. Without guidance, use conservative judgment: a couple of inches, not a hand-sized panel. If you’re debating whether it’s “still small,” it’s probably time to retire the garment instead.
Follow the Manufacturer’s Guidance
Garment manufacturers publish repair guidance for their FR products — permitted materials, size limits, approved methods. NFPA 2113, the standard for care and maintenance of FR garments, points back to these manufacturer instructions for repair decisions.
Before you repair, check the garment’s documentation or the manufacturer’s website. If the manufacturer says a type of damage isn’t repairable, that settles it. If you can’t find guidance, default to small sewn repairs with FR-rated materials only.
OSHA’s PPE rules sit behind this as well: employers must maintain protective equipment in a sanitary and reliable condition, so a repair that leaves a garment unreliable does not meet that duty. See OSHA’s Personal Protective Equipment overview.
For background on which standard governs your garment’s protection in the first place, see NFPA 2112 explained.
When Repair Means Retire
Repair is a maintenance action, not a resurrection. Retire the garment instead when:
- The tear or damage is large — big rips, shredded areas, worn-through panels.
- The fabric around the damage is compromised — scorched, thinned, stiffened, or chemically damaged.
- Damage involves closures, seams at stress points, or reflective trim that can’t be restored to full function.
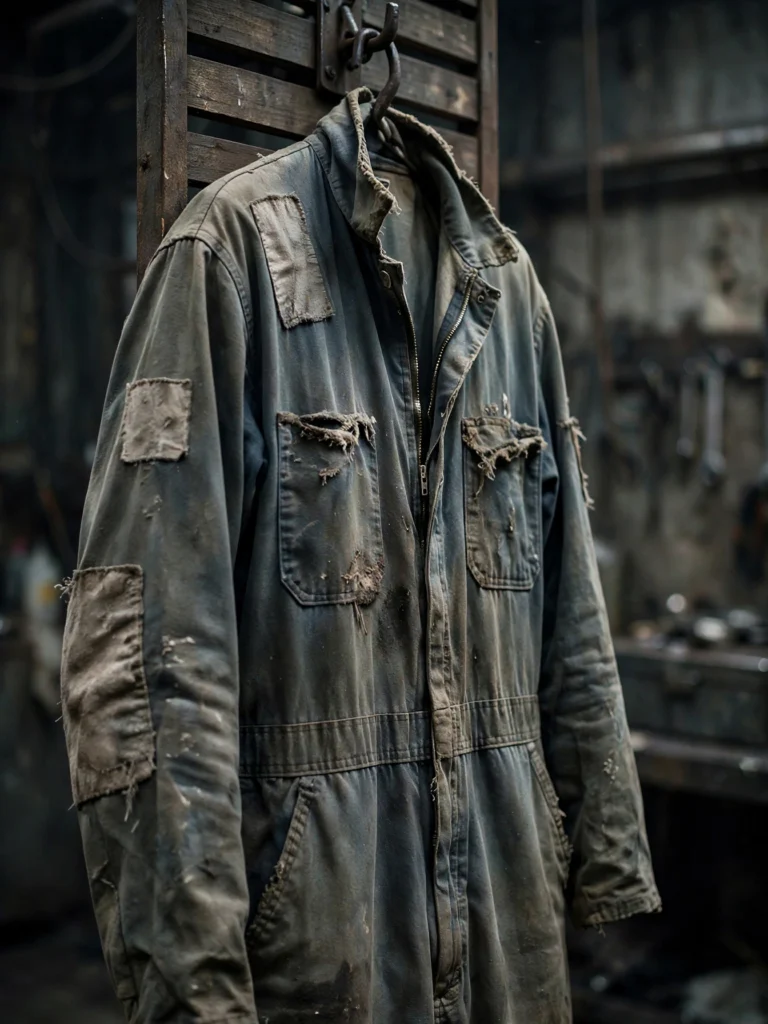
- The garment has accumulated multiple repairs — a patchwork garment is telling you its service life is over.
- It fails inspection after repair — every repaired garment goes through the full inspection and retirement checklist before returning to service.
- You’re unsure the repair restores full protection. Uncertainty is itself a retirement criterion for safety equipment.
A proper repair costs a fraction of a new garment, so fixing small damage is smart. But a repair you’re not confident in isn’t a saving — it’s a gamble with someone’s safety.
How to Do a Safe FR Repair, Step by Step
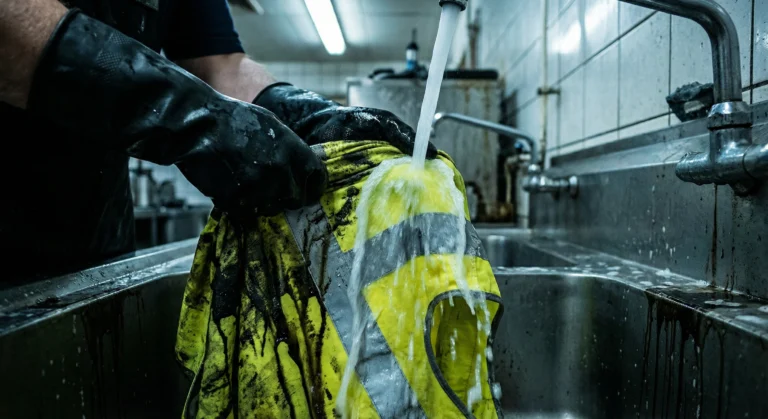
Work in a clean area, and wash the garment first if it is dirty or contaminated, so you are not sewing through oils or solvents. Then follow these steps in order, and stop at any step that fails.
- Inspect the damage and the surrounding fabric. Check for scorching, thinning, stiffness, chemical damage, and damage to closures or reflective trim. If any of those are present, retire the garment instead of patching it.
- Choose FR-rated patch fabric and thread. Match the garment’s FR fabric type and weight as closely as possible, and confirm the thread is flame-resistant. Do not substitute regular thread, iron-on fabric, or adhesive patches.
- Prepare a small, flat patch. Trim frayed edges, cut the patch to cover the tear with a modest margin, and pin it flat so it does not bunch, pucker, or create a raised edge that can catch on equipment.
- Sew it securely. Use neat, even stitches, double-stitch the patch edges where the garment allows, and keep the repair as flat as possible. Avoid bulky seams over stress points.
- Inspect after repair, before it returns to service. Check the seams, the patch edges, the label and arc-rating markings, and the surrounding fabric. If the repair fails inspection, or you are unsure it restores full protection, retire the garment.
Can you use a regular sewing machine to repair FR clothing?
Yes, a regular sewing machine is fine for a small FR repair, provided you use FR-rated thread and FR-rated patch fabric and keep the stitches neat and flat. The machine is not the safety issue; the materials and method are. Test your stitch on a scrap of the same FR fabric first, and do not use glue, tape, or iron-on patches to finish the job.
Does a repair affect the arc rating?
A proper repair with FR-rated materials maintains protective performance — but the garment isn’t re-tested after field repair, which is why materials, method, and manufacturer limits matter. An improper repair absolutely compromises protection. When in doubt, retire it.
FAQs
Can I sew FR clothing with regular thread?
No. Regular polyester thread melts and cotton thread burns — either one creates a failure line through your repair. Use flame-resistant thread rated for the application.
Are iron-on patches okay for FR clothing?
No. Iron-on adhesives melt under heat, and the patch fabrics typically aren’t flame-resistant. Sew FR-rated patches instead.
How big a patch is too big?
There’s no universal size limit — it depends on the garment and manufacturer guidance, which is the authority. Small (a few inches) sewn patches of FR-rated fabric are repairs; rebuilding panels or covering large areas is reconstruction, and the garment should be retired.
Related
When to Replace FR Clothing · NFPA 2112 Explained · FR Clothing Care Guide