

Best Way To Dry Hi Vis Clothing: Protect Reflective Tape and Avoid Heat Damage
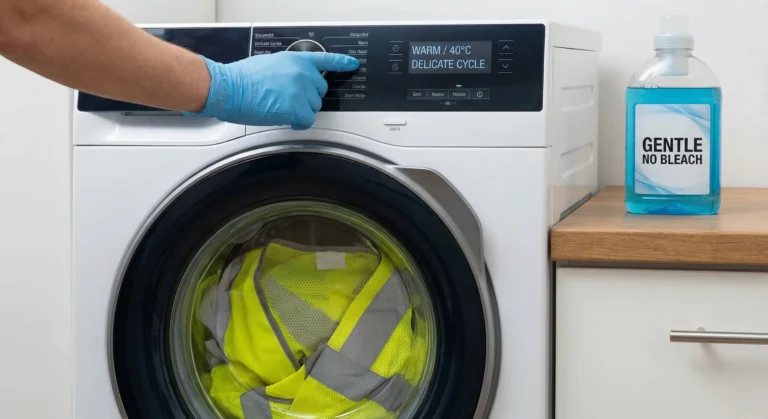
Learning how to dry hi-vis clothing the right way protects the reflective tape and fluorescent fabric that keep you visible. Heat is the main enemy — it cracks tape, fades fluorescence, and shrinks garments. We rank the safest methods below, starting with line drying. For the wash step, see our guide to washing hi-vis workwear.
Safety note: Always follow the garment care label and your workplace safety program. Replace hi-vis gear if reflective trim is peeling/cracked or visibility is reduced.
Why heat is the enemy of reflective tape and fluorescent fabric
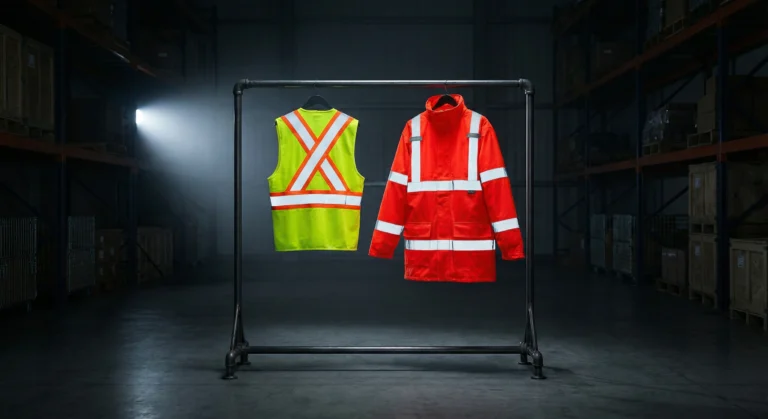
Hi-vis garments stay visible two ways: fluorescent fabric for daylight and retroreflective tape that bounces light back at night. Both are heat-sensitive. Reflective tape is bonded to the fabric with a heat-activated adhesive; sustained dryer heat softens that bond until the tape cracks, bubbles, or peels at the edges. Fluorescent dyes also break down faster under heat, and the damage is cumulative. Since certified garments must meet ANSI/ISEA 107 to stay compliant, heat damage shortens their compliant service life. OSHA’s PPE guidance stresses that protective equipment must be properly maintained to do its job.
The safest ways to dry hi-vis clothing, ranked
When deciding how to dry hi-vis clothing, rank options by heat exposure: less heat means longer tape life.
1. Line dry in the shade (safest)
Hang the garment inside out on a wide hanger or line in a shaded, breezy spot. Direct sun dries faster, but prolonged UV fades fluorescent fabric just like heat does. Allow airflow around sleeves and pockets — most garments dry within a few hours with no thermal stress on tape or dyes.
Can you tumble dry hi-vis workwear?
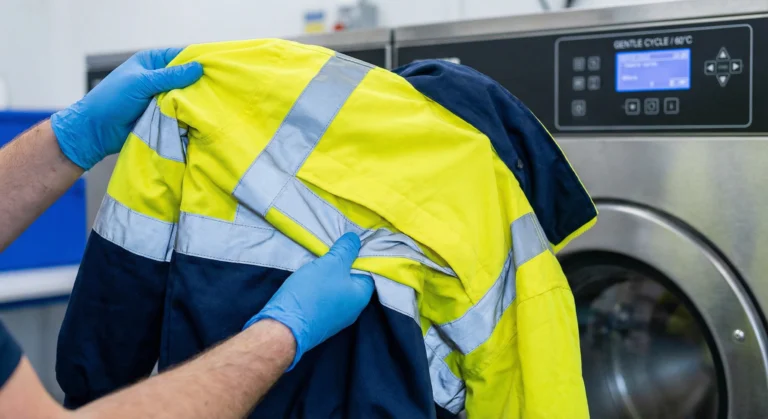
Yes, but only on low or no heat for ten minutes or less — then remove the garment immediately. Turn it inside out first so the tape doesn’t rub against the drum or other clothes. Never use medium or high heat, and never run a full bone-dry cycle on hi-vis.
Use air-fluff or cool-down if your dryer has it, and remove the garment the moment the cycle ends — a hot drum keeps cooking the adhesive.
What temperature should you dry hi-vis at?
Stay at or below the dryer’s “low” setting — roughly 50°C (120°F) — and choose “no heat” or air-fluff when offered. Anything hotter softens the adhesive behind reflective tape and accelerates fading. If your dryer runs hot even on low, line dry instead.
What high heat does to hi-vis gear
High dryer heat attacks hi-vis gear on three fronts. First, it softens the adhesive behind reflective tape, so the tape cracks, bubbles, or lifts at the edges. Second, heat degrades fluorescent dyes, dulling daytime conspicuity. Third, repeated hot cycles shrink cotton blends. All three shorten working life.
Turn garments inside out before drying
Turn the garment inside out before drying — line or machine. This shields the tape from abrasion against the drum, zippers, and other clothes. Fasten zippers and hook-and-loop closures so they can’t snag the tape.
How to tell when hi-vis is dry enough — don’t over-dry
Stop while the fabric still feels faintly cool or barely damp, especially at seams, pockets, and cuffs — those thick spots dry last. Hang the garment and let room air finish. Over-drying keeps baking the tape adhesive, so pulling it early is the safest habit.
Ironing rules near reflective tape
Never iron directly over reflective tape — concentrated heat melts and distorts it. If the care label allows ironing at all, use the lowest setting on the reverse side, well away from tape and fluorescent panels. A pressing cloth adds margin; when in doubt, hang promptly to prevent wrinkles.
Drying mistakes to avoid
- Using medium or high dryer heat.
- Over-drying, or leaving garments in a hot drum after the cycle ends.
- Drying hi-vis with heavy items that abrade the tape.
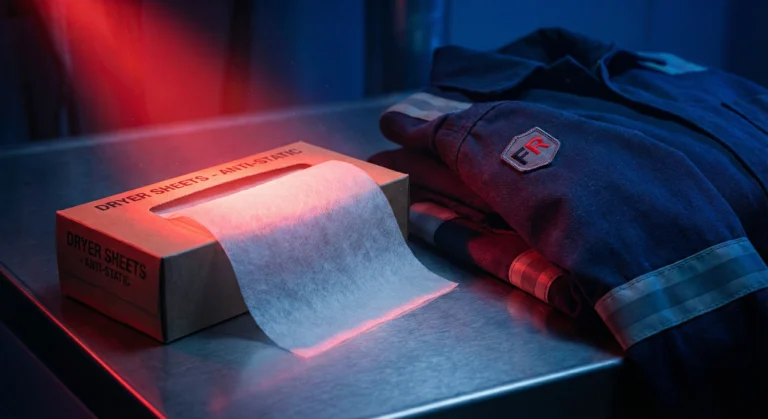
- Using fabric softener or dryer sheets — residue dulls reflective tape.
- Ignoring the care label.
- Over-washing — see how often to wash hi-vis for the right interval.
Drying methods compared: heat level and tape risk
Less heat means less risk — compare your options:
| Drying method | Heat level | Risk to reflective tape |
|---|---|---|
| Line dry in the shade | None | Lowest — no thermal stress |
| Tumble dry low | Low | Low, if removed promptly |
| Tumble dry high | High | High — cracking and peeling |
Post-dry inspection (30 seconds)
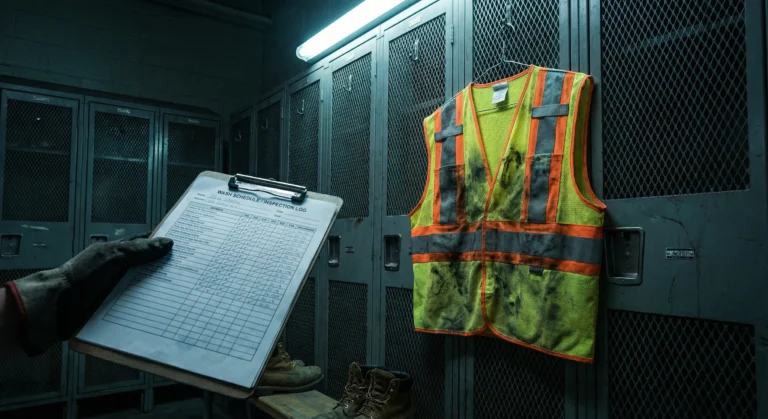
- Flex the tape and check its edges — cracking or lifting means it may be time to see when to replace hi-vis.
- Check fluorescent fabric in daylight — it should look bright and even.
- Feel seams, cuffs, and pockets — if any spot is still damp, hang to finish.
Hi-vis drying FAQs
Can you put hi-vis clothing in the dryer?
Yes, but only on low or no heat. High heat breaks down the adhesive that bonds reflective tape to the fabric and fades fluorescent material. Always check the care label first — line drying is the safest option for hi-vis gear.
Why is my reflective tape peeling after drying?
Heat and aggressive tumbling are the usual causes: they weaken the tape’s bond to the fabric until it cracks or lifts at the edges. Switch to tumble-dry low or line dry, avoid over-drying, and turn garments inside out before drying.
Can you iron hi-vis clothing?
Never iron directly over reflective tape — the heat melts and distorts it. If the care label allows ironing at all, use the lowest heat setting on the reverse side of the garment, well away from tape and fluorescent panels.


6 Comments